Binocular Parallelogram Mount


To me, the best kinds of hobbies are the kinds where part of the enjoyment comes from building equipment that makes the hobby more enjoyable for me. I prefer making equipment over buying things that others have made. So rather than work hard to make money and give it away, I prefer to work hard on making the equipment and reaping the rewards of my work. Building the equipment myself saves money, but that’s not the only benefit of this do-it-yourself philosophy. It also deepens my understanding of this hobby, and then lets me enjoy the hobby more.
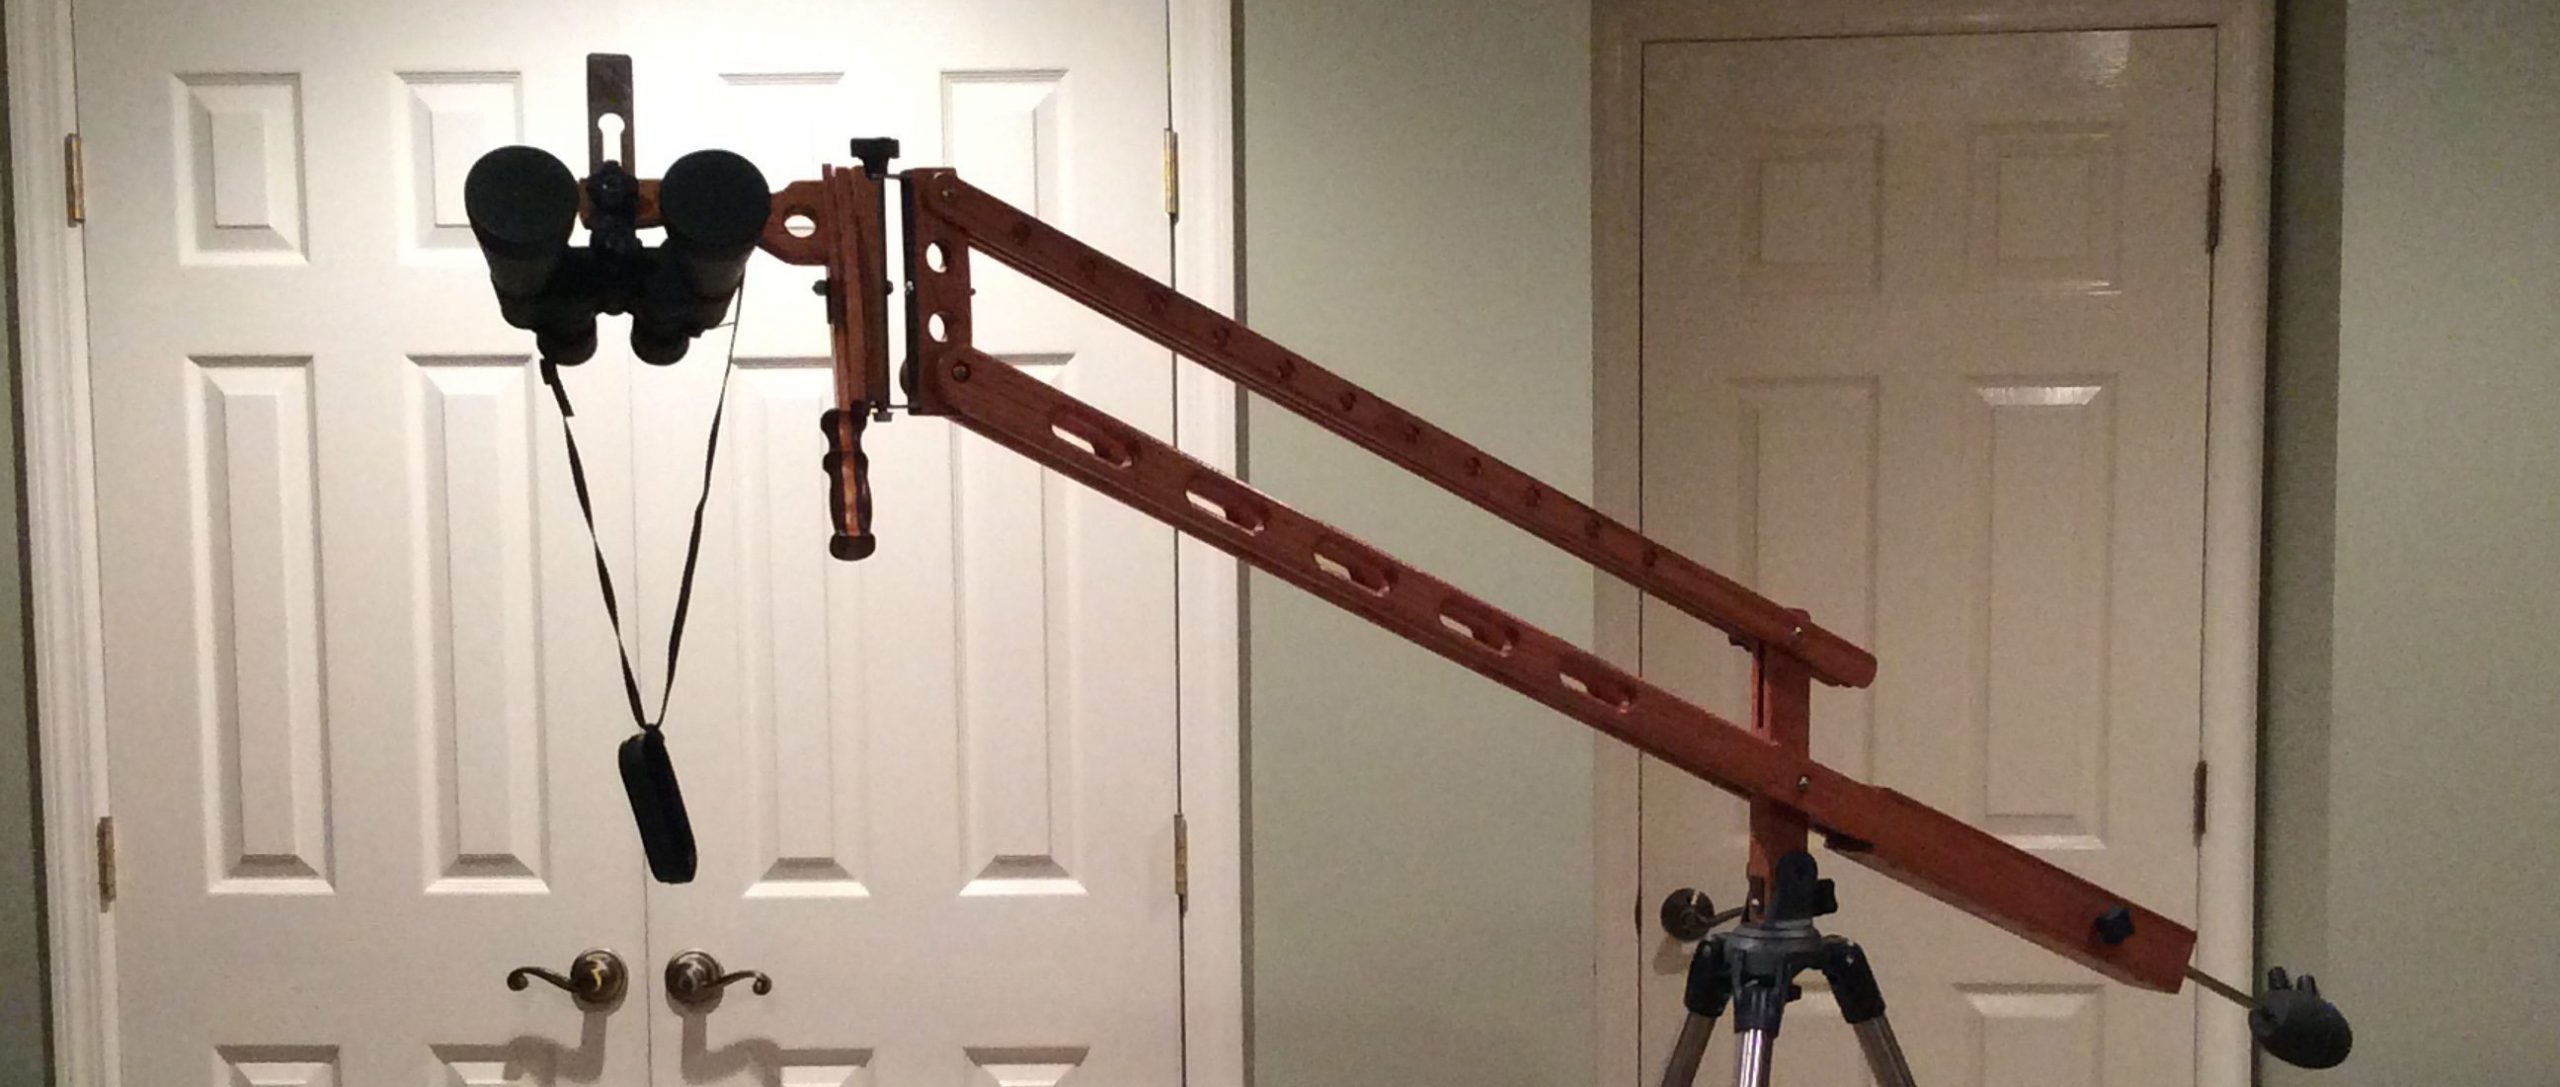
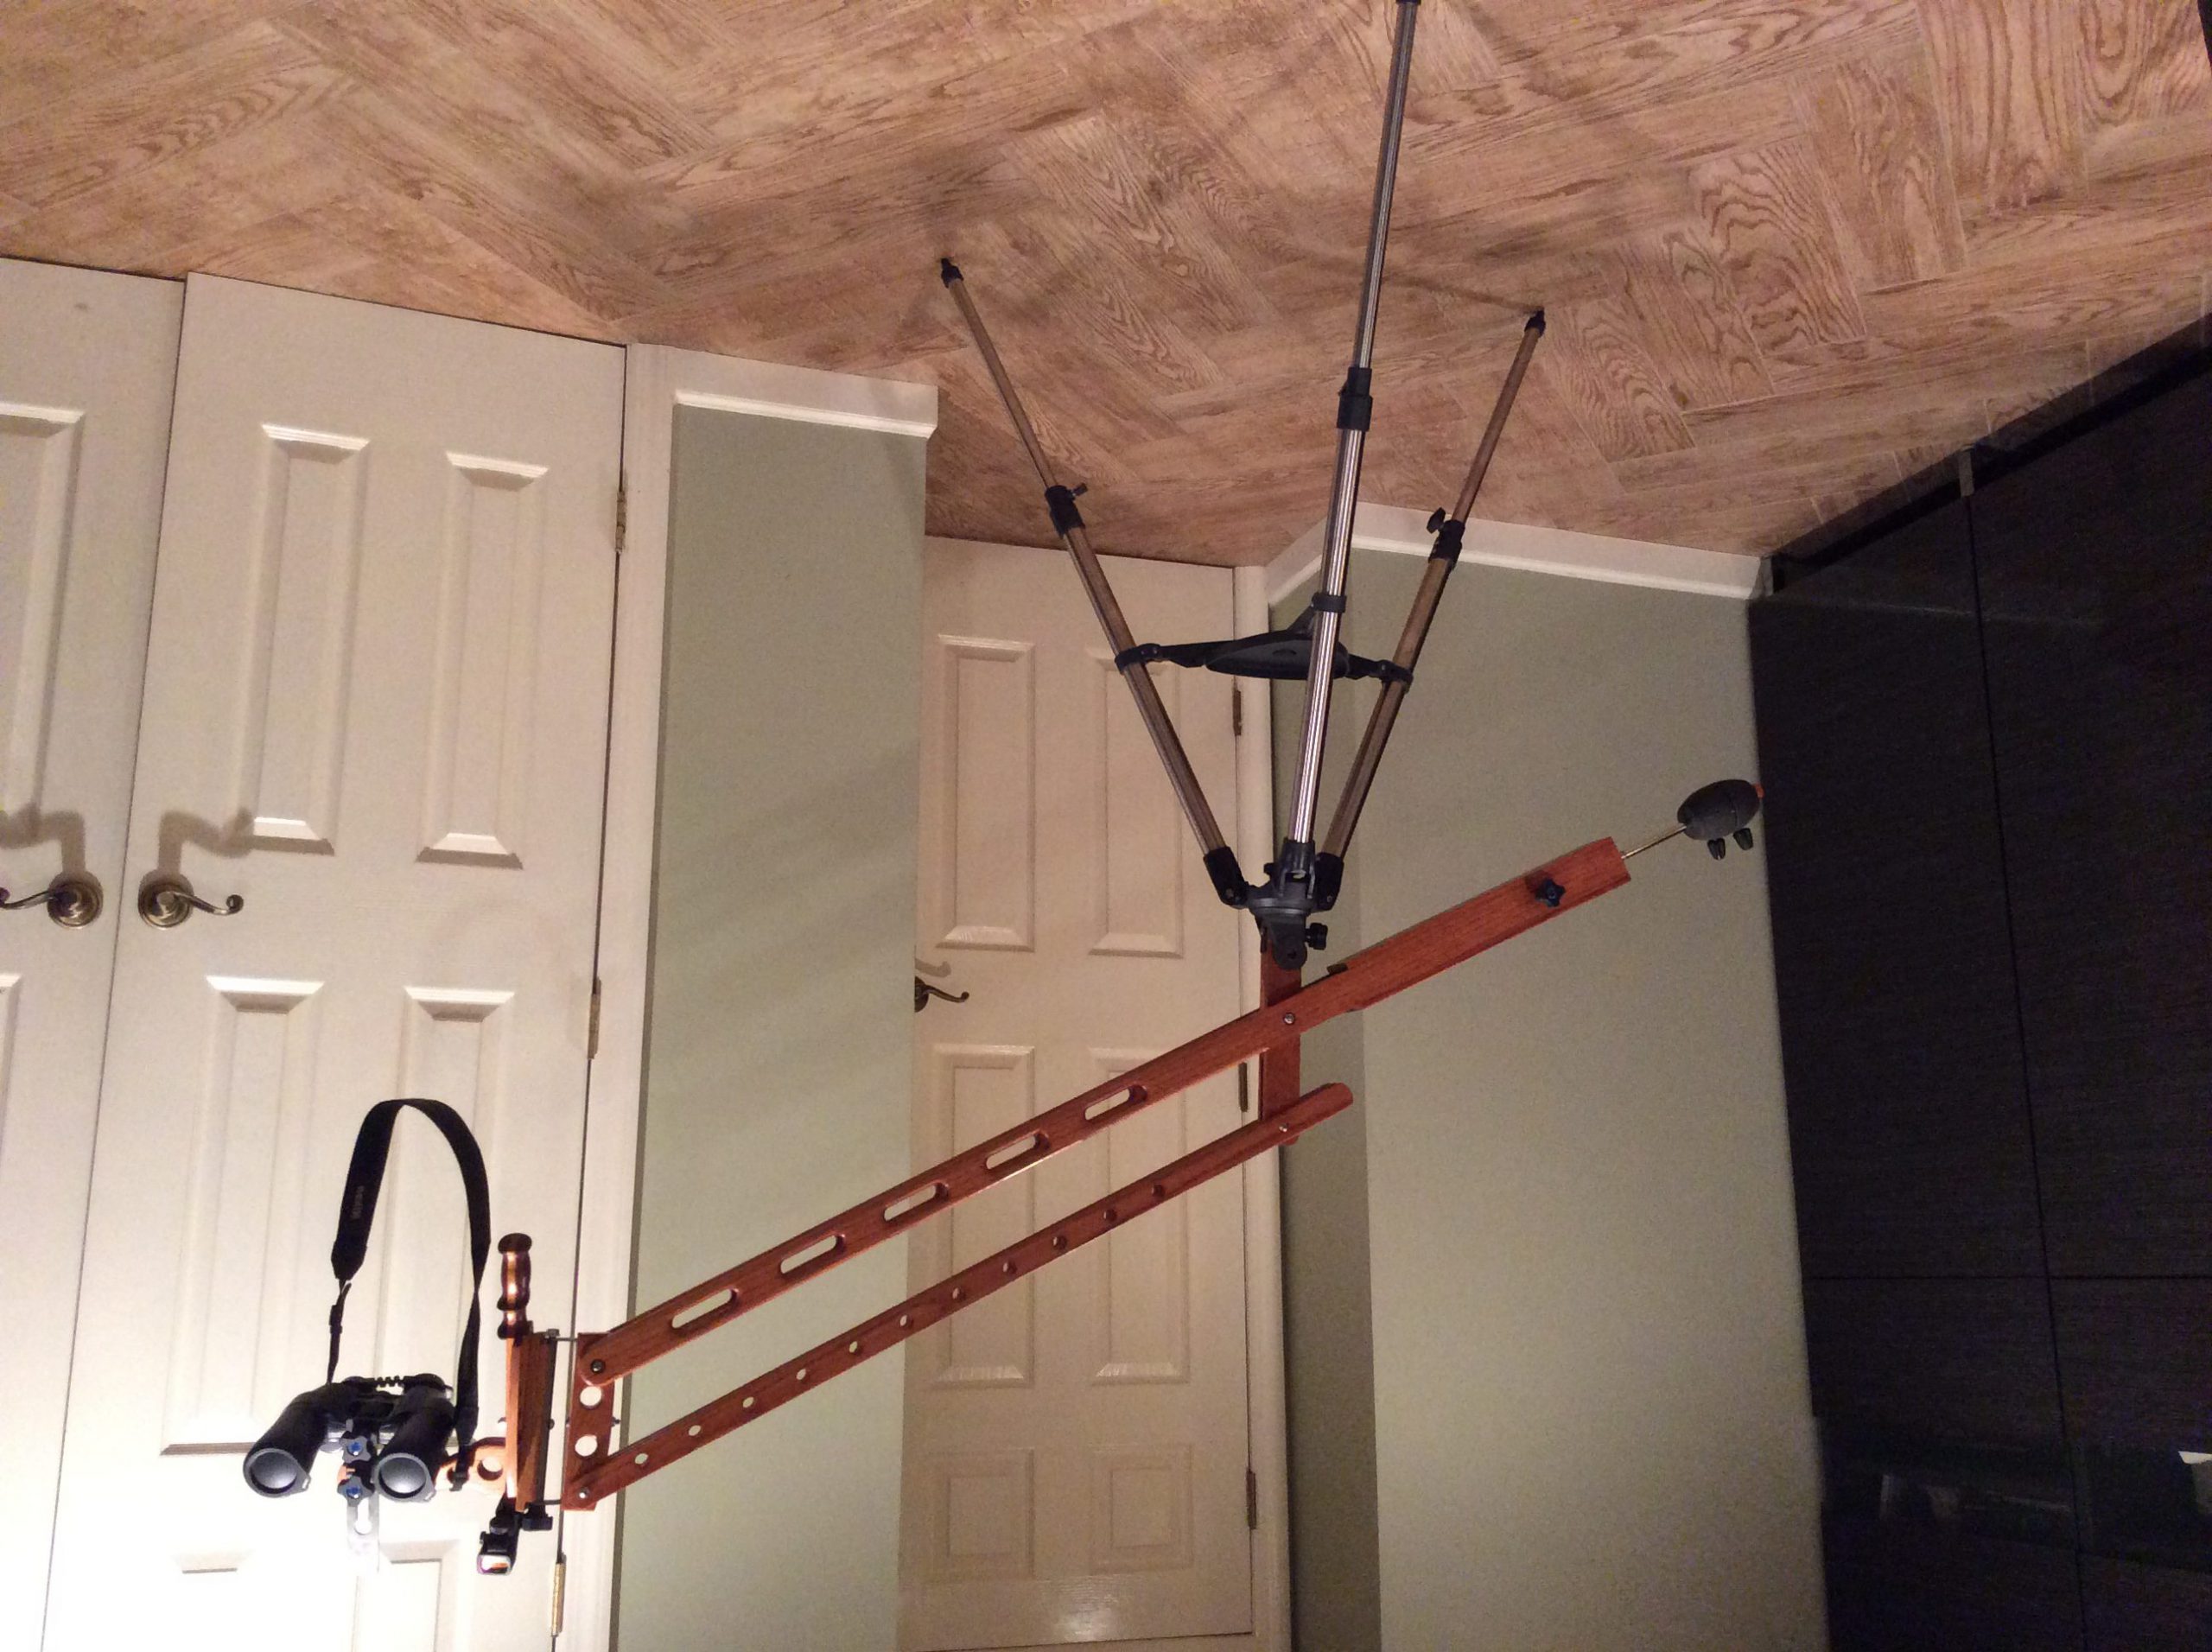
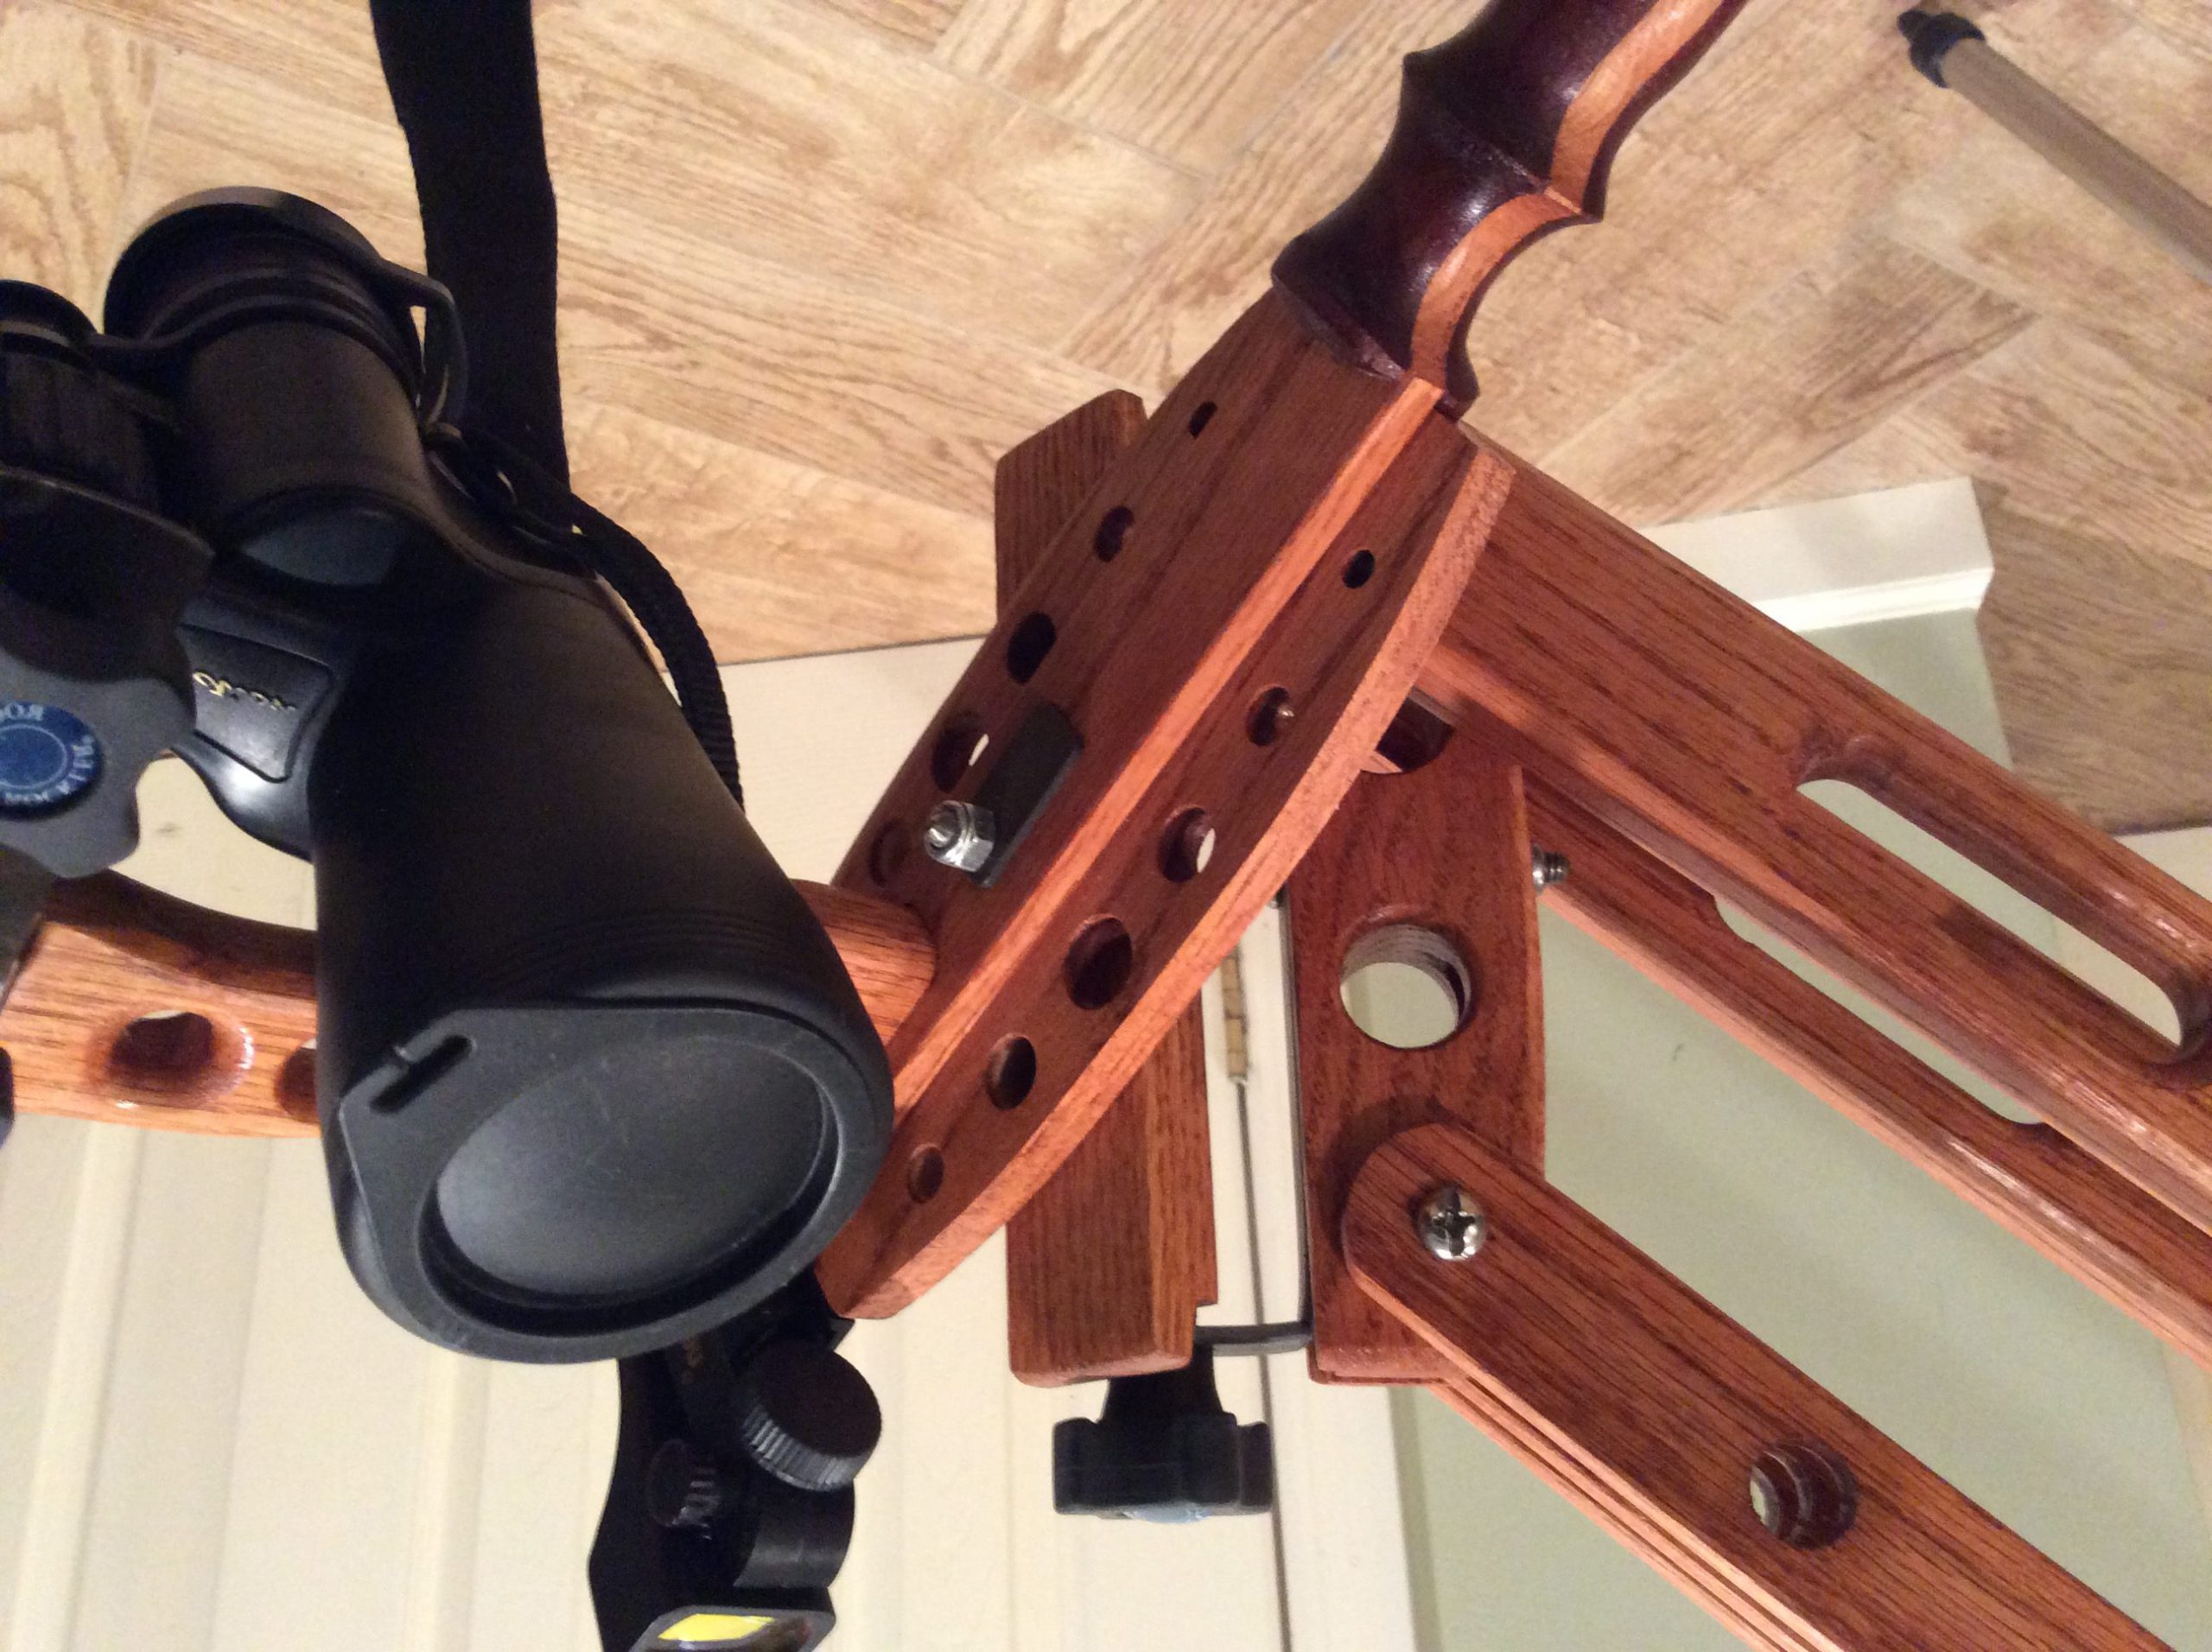
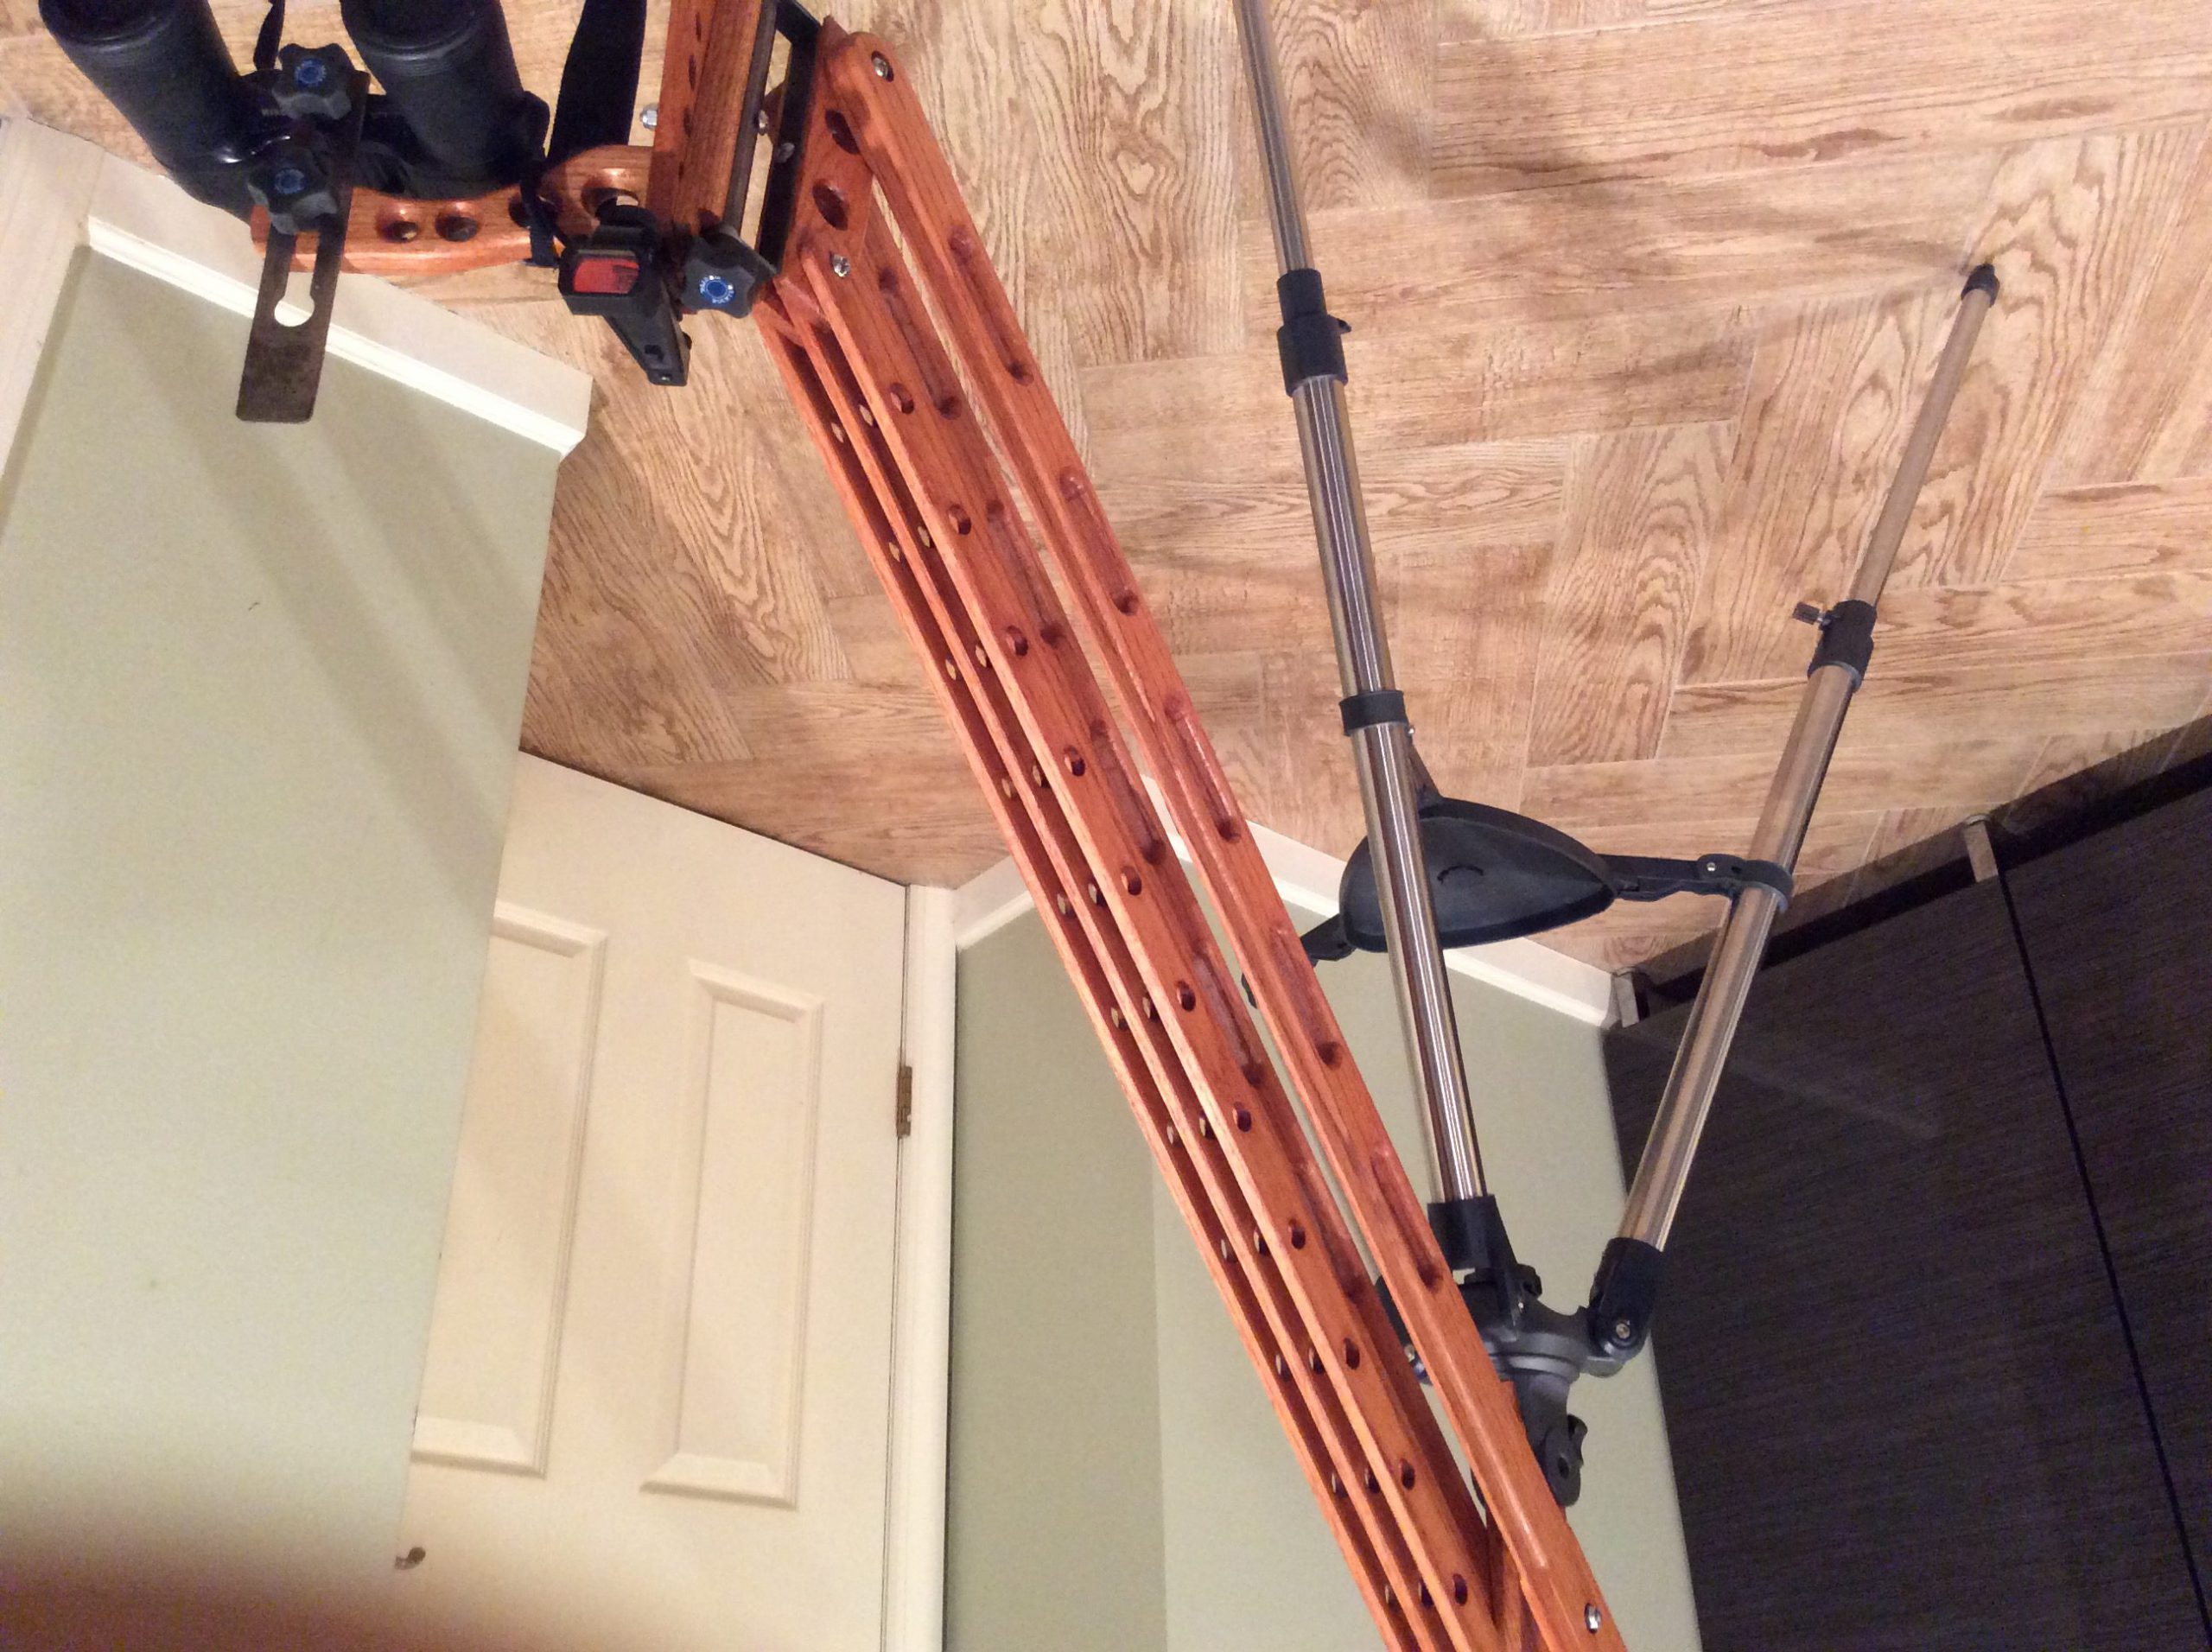
Astronomy is perfect for me. I like to observe the stars and learn the geography of the sky. It also happens to require a ton of equipment, and luckily I like making my own. The parallelogram was my first project in astronomy. Binoculars are great for observation and the parallelogram is the best type of mount you can utilize to hold them.
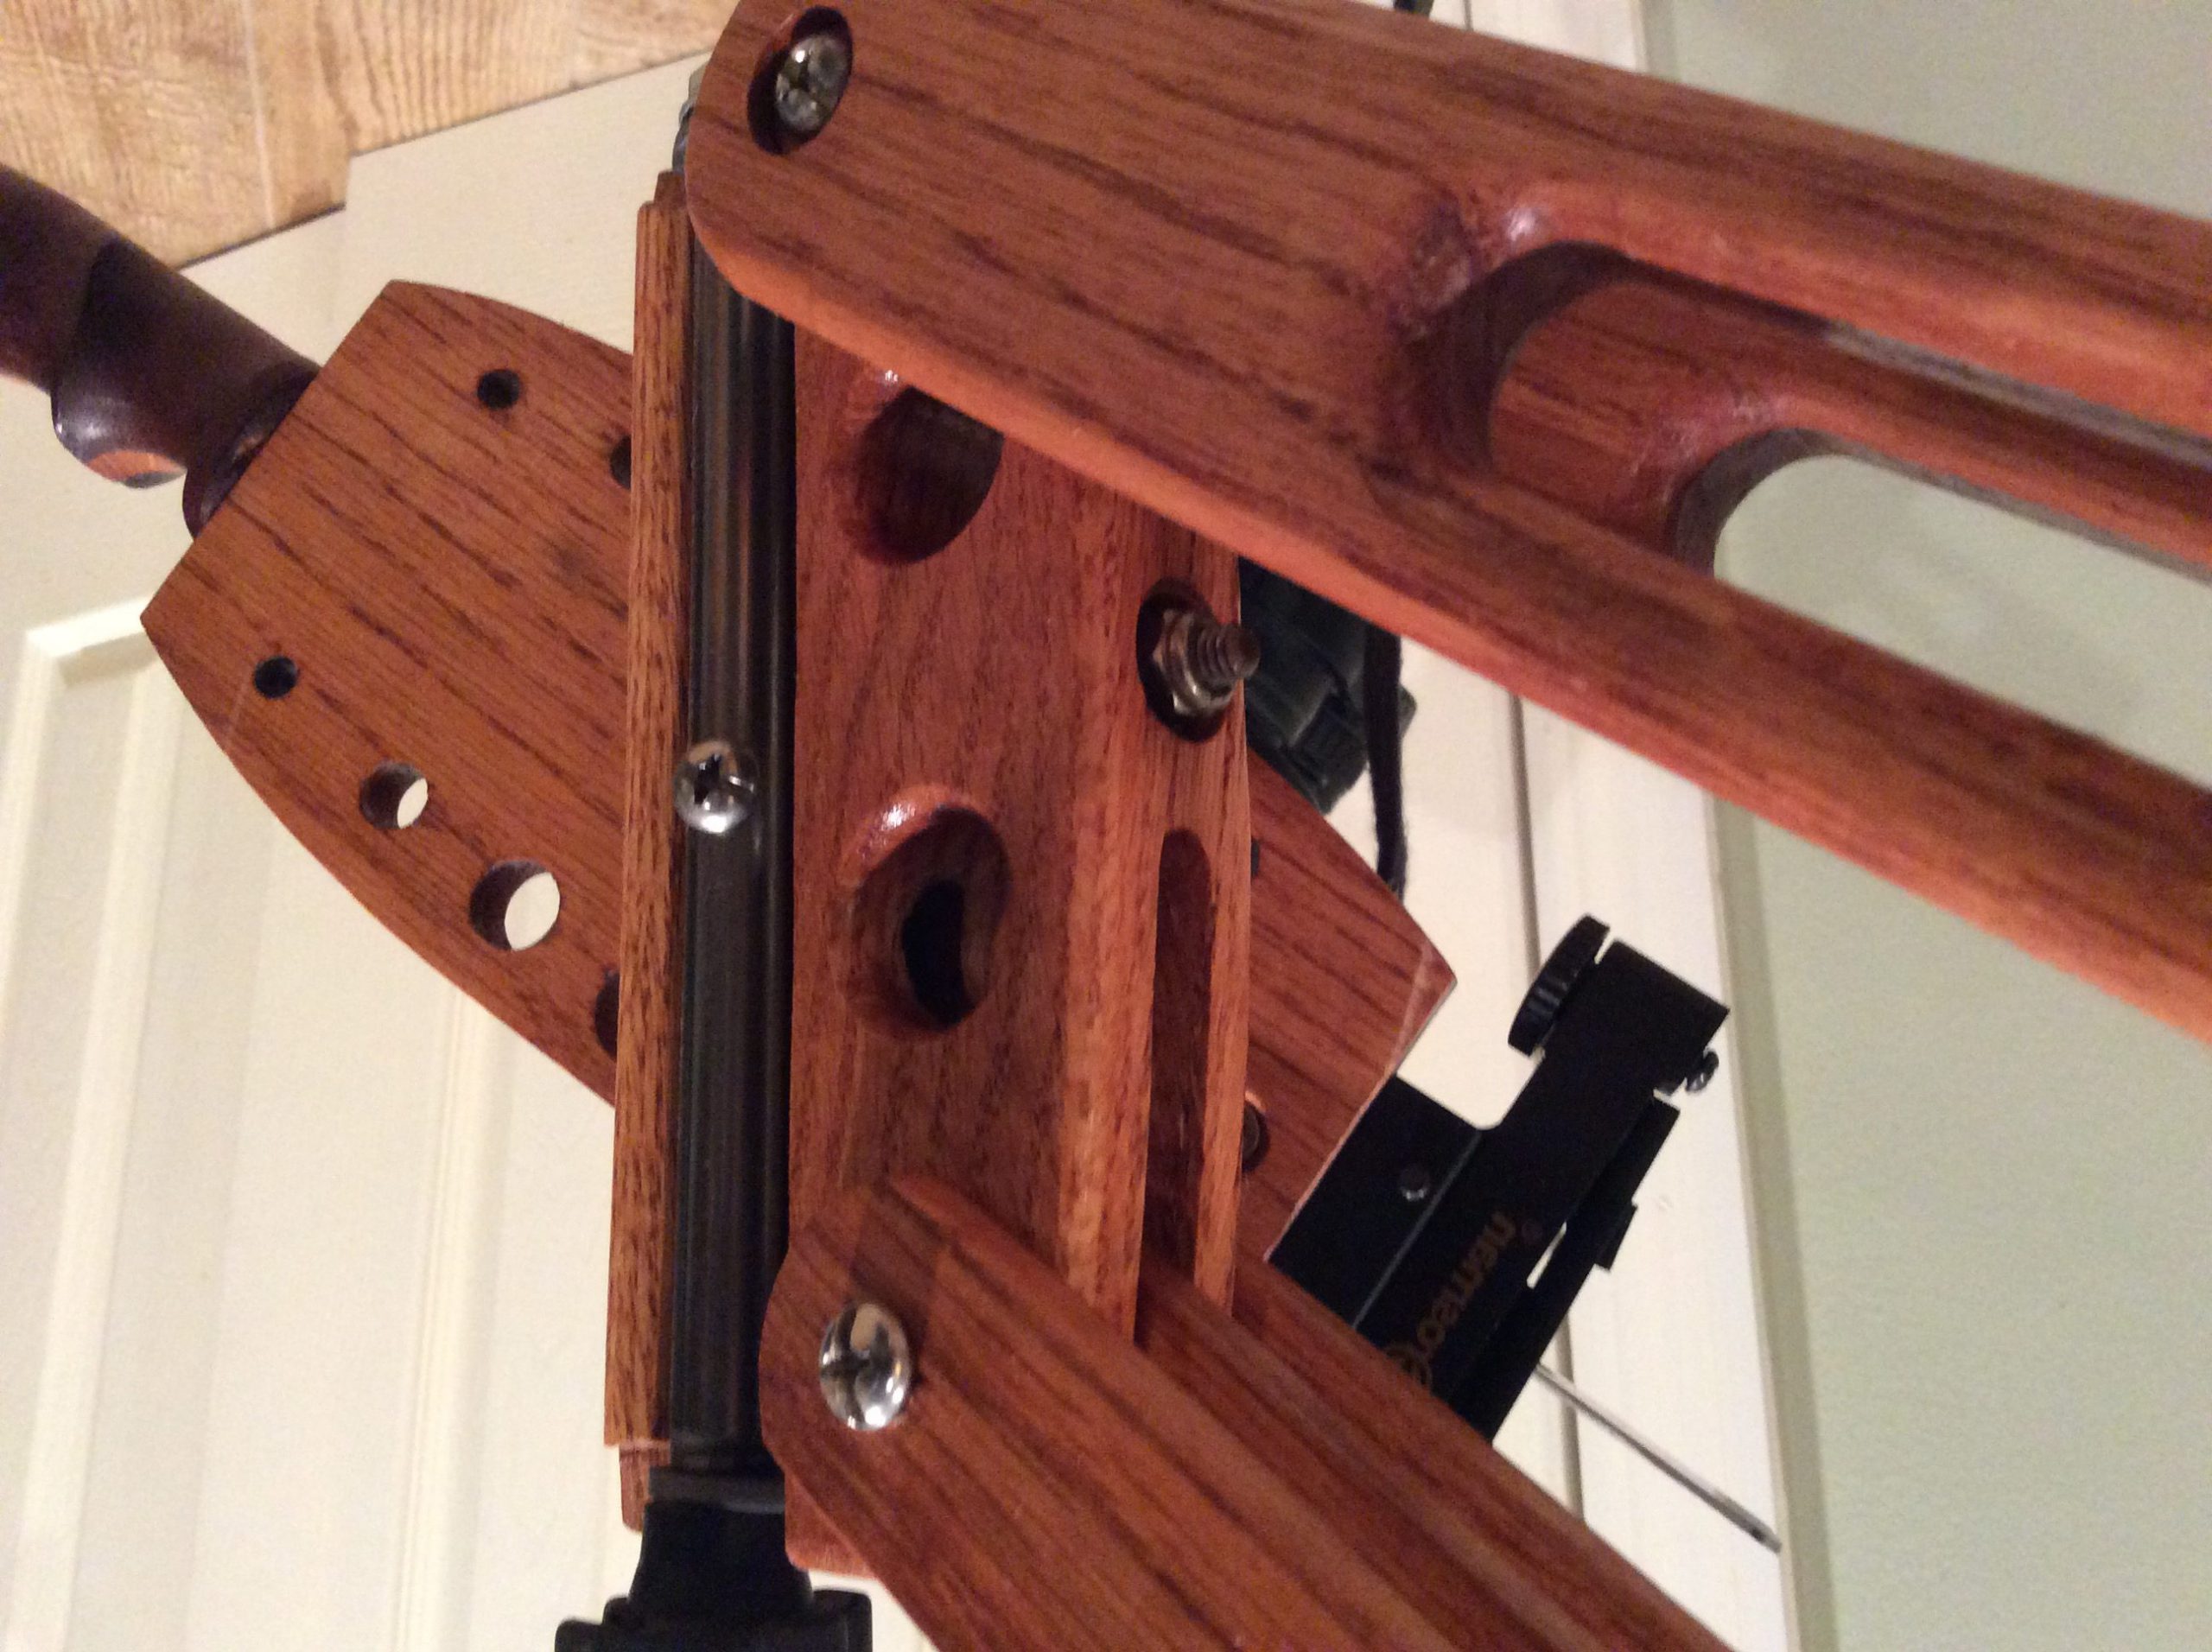
When I decided to build my own parallelogram, I made a point not to look at any parallelograms so I would not be influenced by their designs. Not only this, but a lot of commercially available products use metal, and I prefer to use wood. Wood is easier to work with because it can be shaped more easily, making it perfect for this project. I like my things to be pretty. Metal makes that harder to achieve.
I never make plans. It’s just me. I go with the flow. Once I know what I’m making, my experience and creativity takes over. If you asked me to draw a plan, I would be paralyzed with uncertainty. It’s just not the way I work. It’s all in my head.
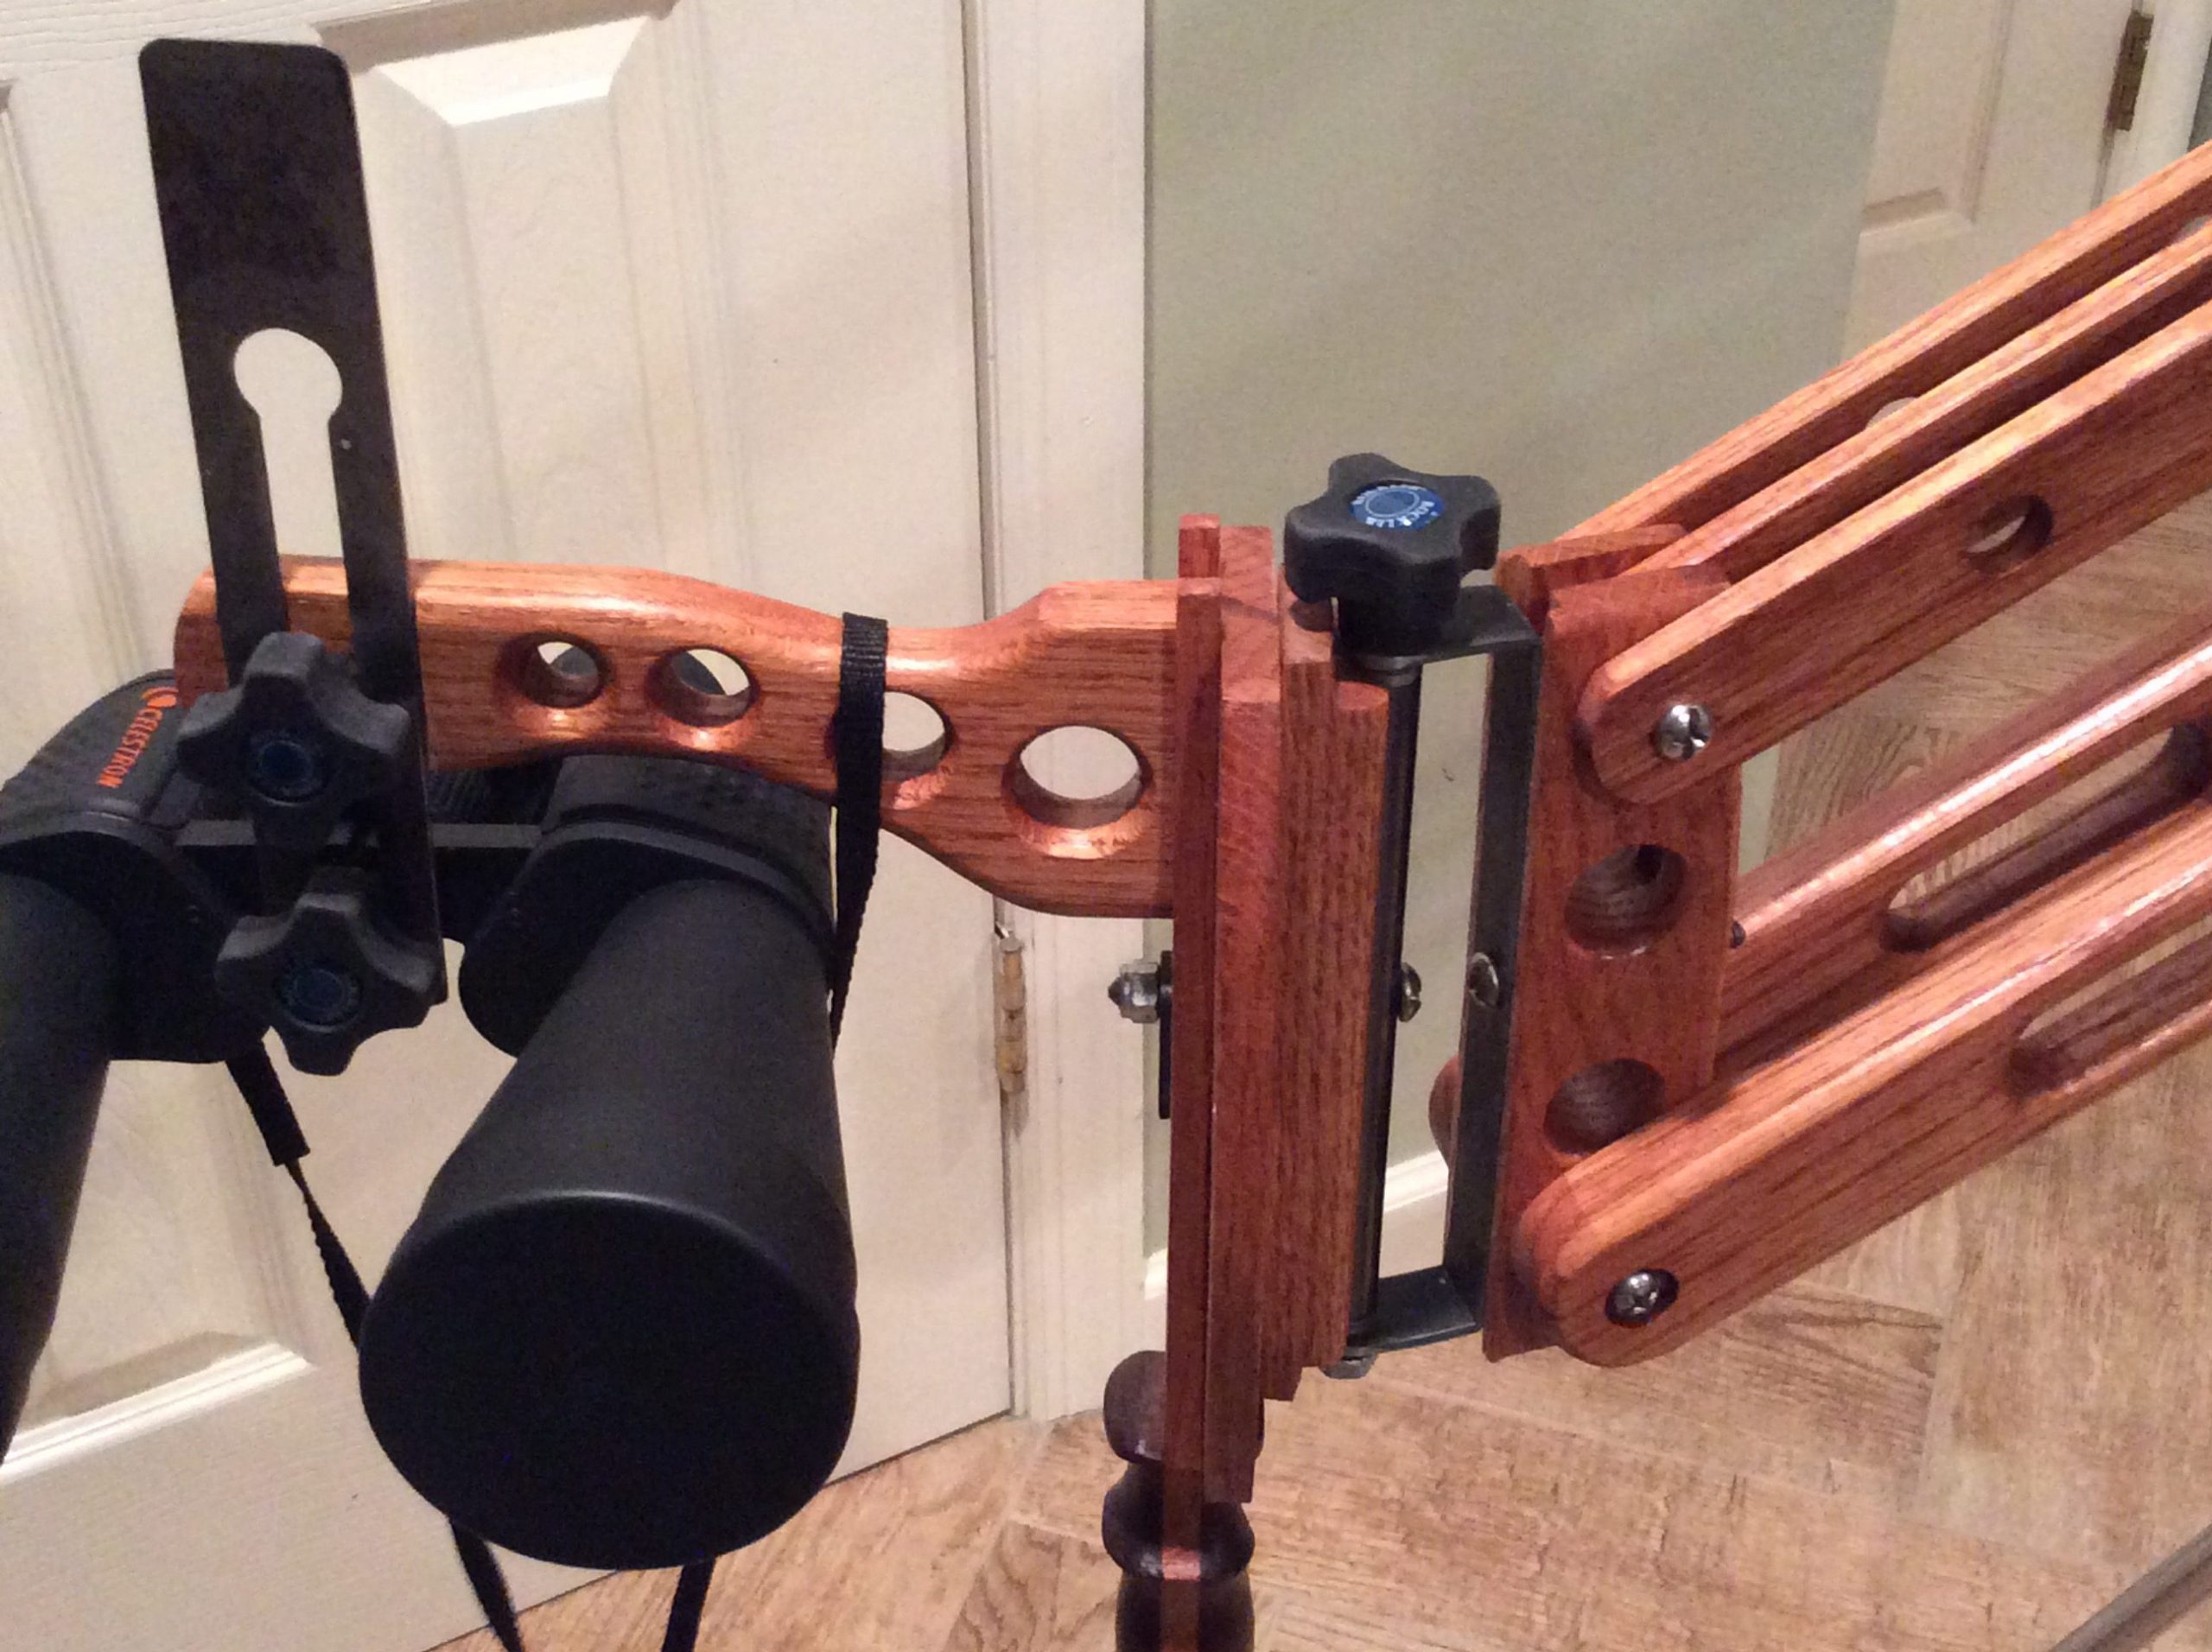
I know how things work and how the material I’m using works. How big a hole I can drill, so the hole you make will not split the wood. I know how much material I can remove until what is left will not lose strength to hold everything stiff, strong and straight. I know how to choose grain, so the board I picked will be twice as strong as the one I chose not to use. I know how long an element can be before you have to use another piece to reinforce the first. Also, I know that you can use one board. But it will be big and thick. It will be ugly and bulky. So, I use multiple elements, so it will appear light and eye pleasing. And if one element decides to twist itself, the other of opposite grain will resist, so both will stay straight. After all I’m a carpenter. And I love and know wood.

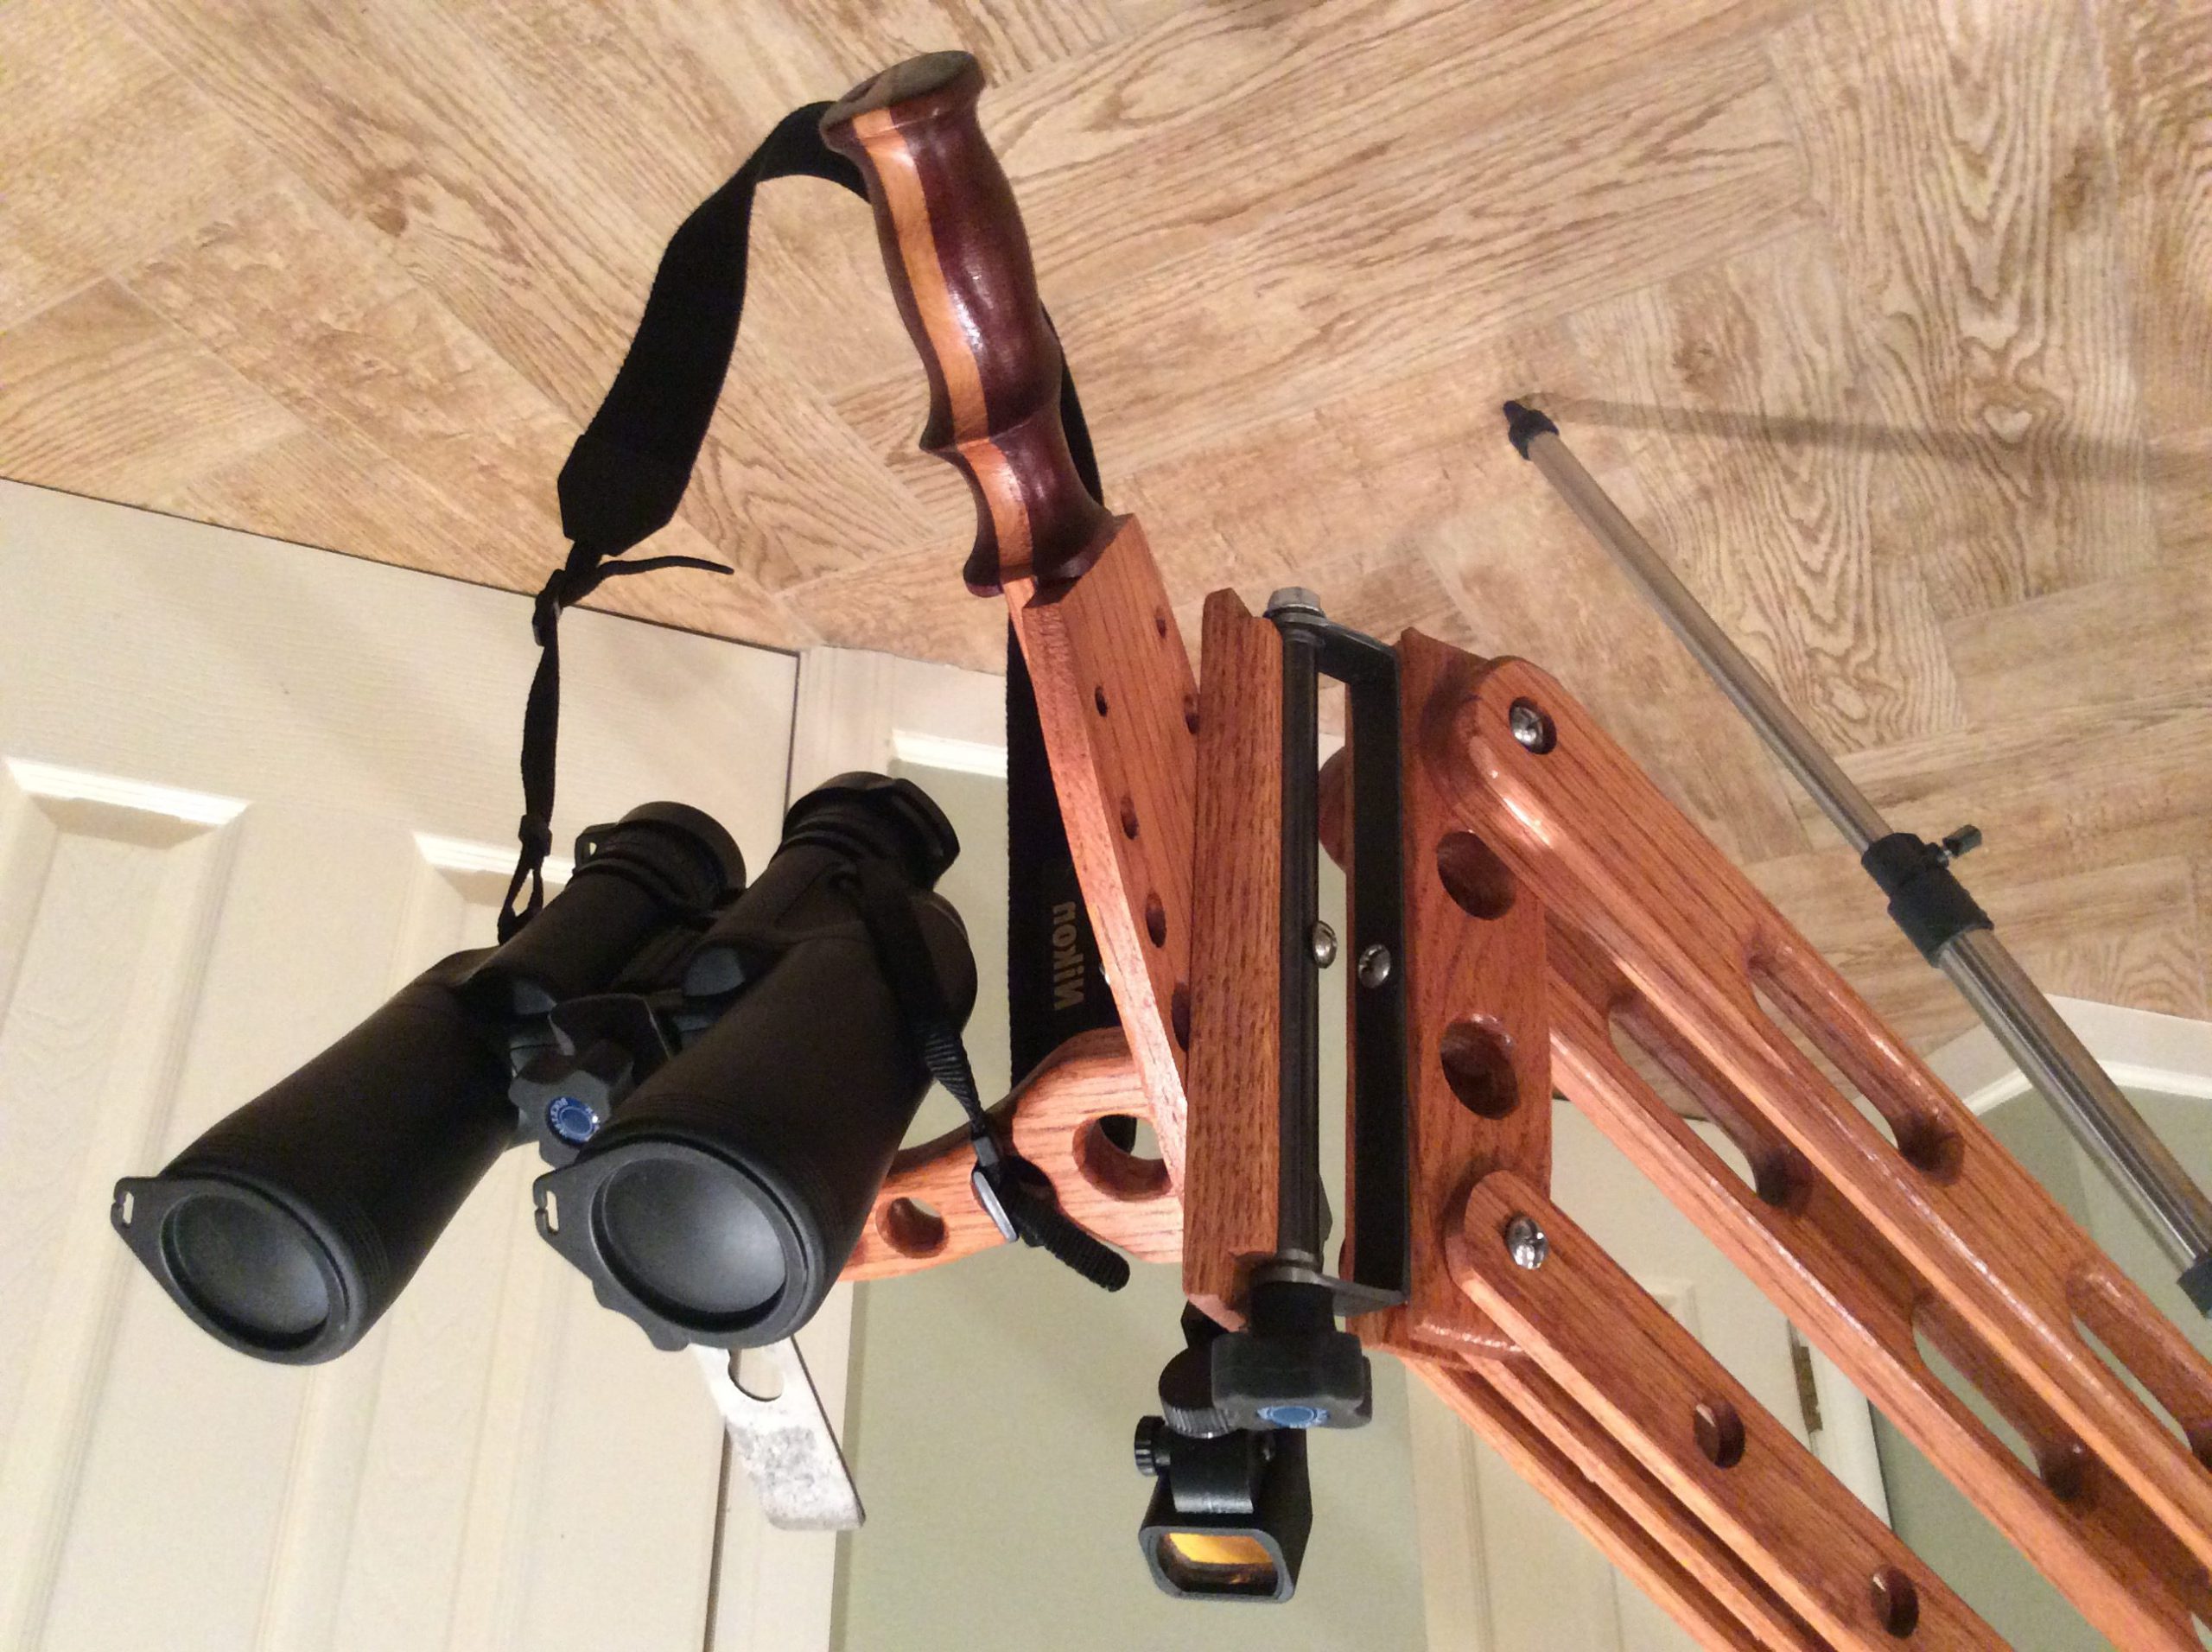
On a personal level, the wood used in the handle has a very sentimental quality. That handle was carved from a piece of black walnut that came as a gift from a fellow carpenter, it’s part of the railing from a house over 100 years old and it was sitting first in my friends shop and then in my house for another three years. This is a memory and souvenir. He’s no longer with us. I had only this small piece and if something went wrong it would be gone and I would have no second chance. As you can see this is very personal for me.
So, I made it. It took me about 12 hours of work. I hope you enjoy looking at my creation. In other articles that hopefully will follow, I will go into a little more detail of the design and some of the hidden solutions I came up with.
Materials used:
- Oak wood
- bolts
- finger knobs
- stain
- gun stock oil rub finish
- Metal pipes
- flat metal stock
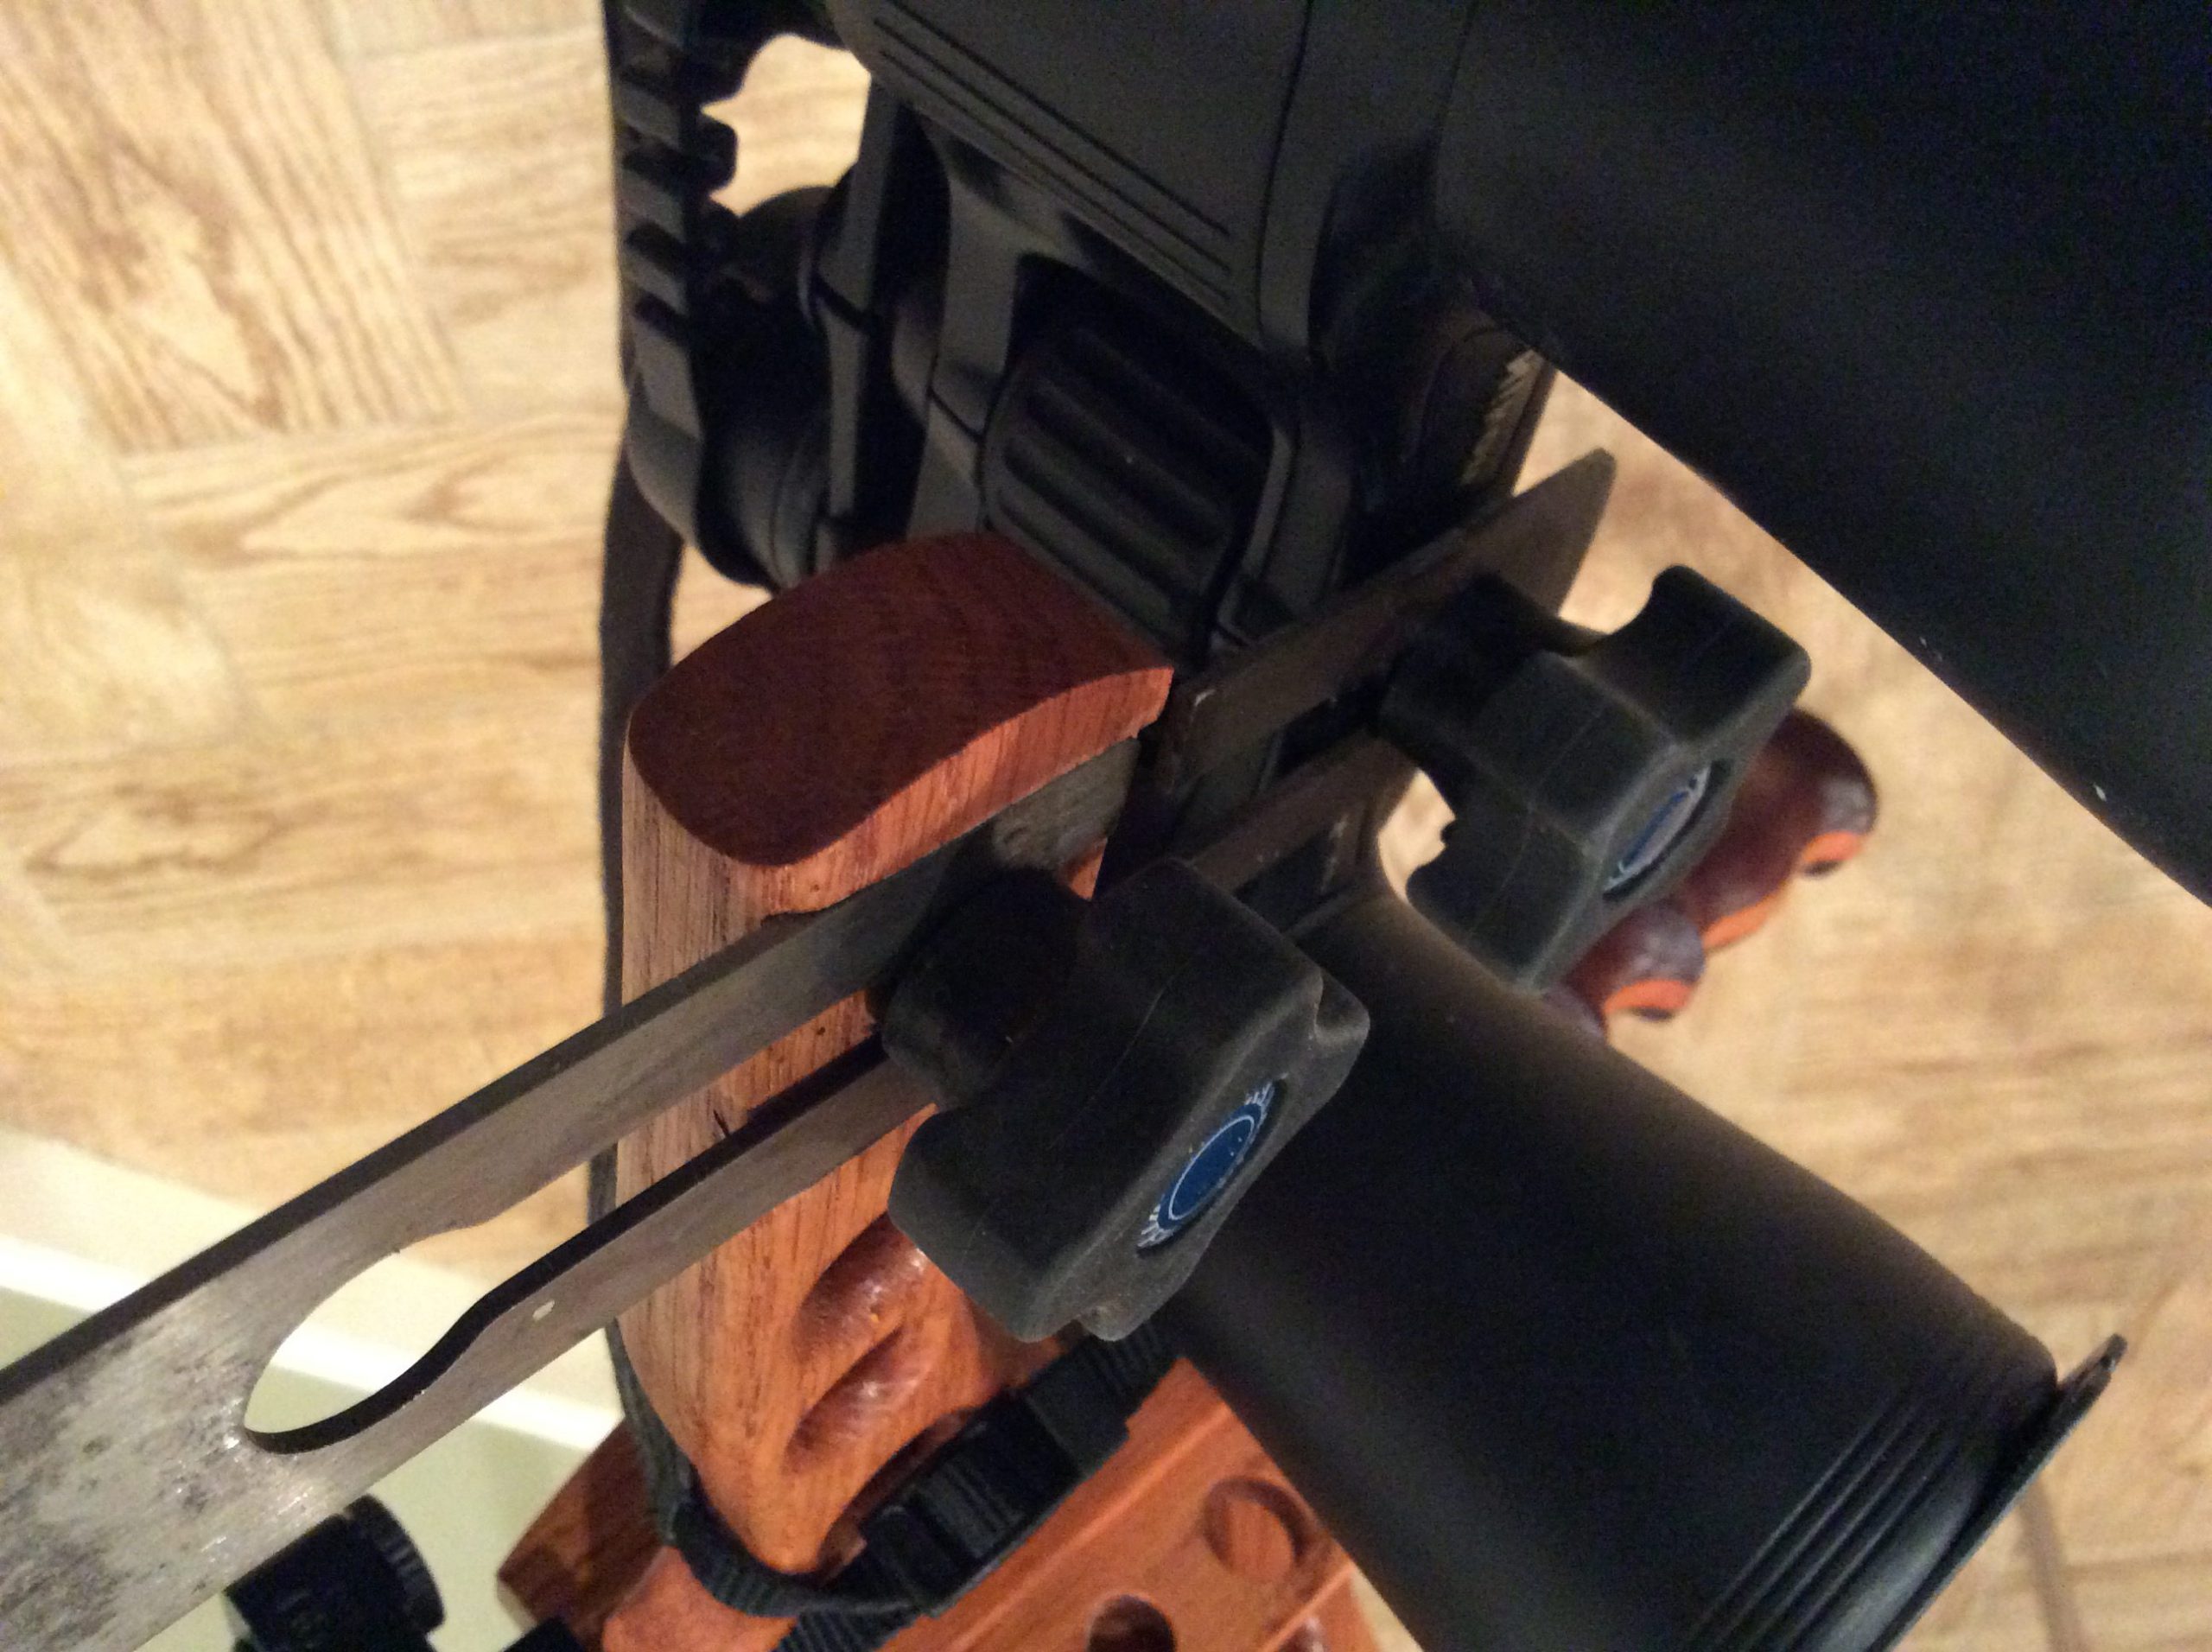
- Old planers blade.
Tools used:
- Table saw
- Belt sender
- Orbital sender
- Router
- Drill press
- All kinds of drill bits
- Forstner drill bits for large size holes.